반응형
iOS 앱을 개발하고 광고까지 넣어서 출시한 경험이 있다면 잘 알겠지만, 본인 기기에서 광고를 클릭하면 부정 클릭으로 인식되어 광고가 막힌다. 하지만 AdMob에 본인 기기를 테스트 기기로 등록하면 앱 내 광고가 테스트 모드로 바뀌기 때문에 부정 클릭을 걱정할 필요가 없다.
배너 광고만 넣은 경우는 조심하면 될 것 같긴 한데, 전면 광고는 무조건 보이기 때문에 광고가 잘 나오는지 확인하려면 테스트 모드로 확인하는 수밖에 없을 것이다.
1. IDFA 값 알아오기
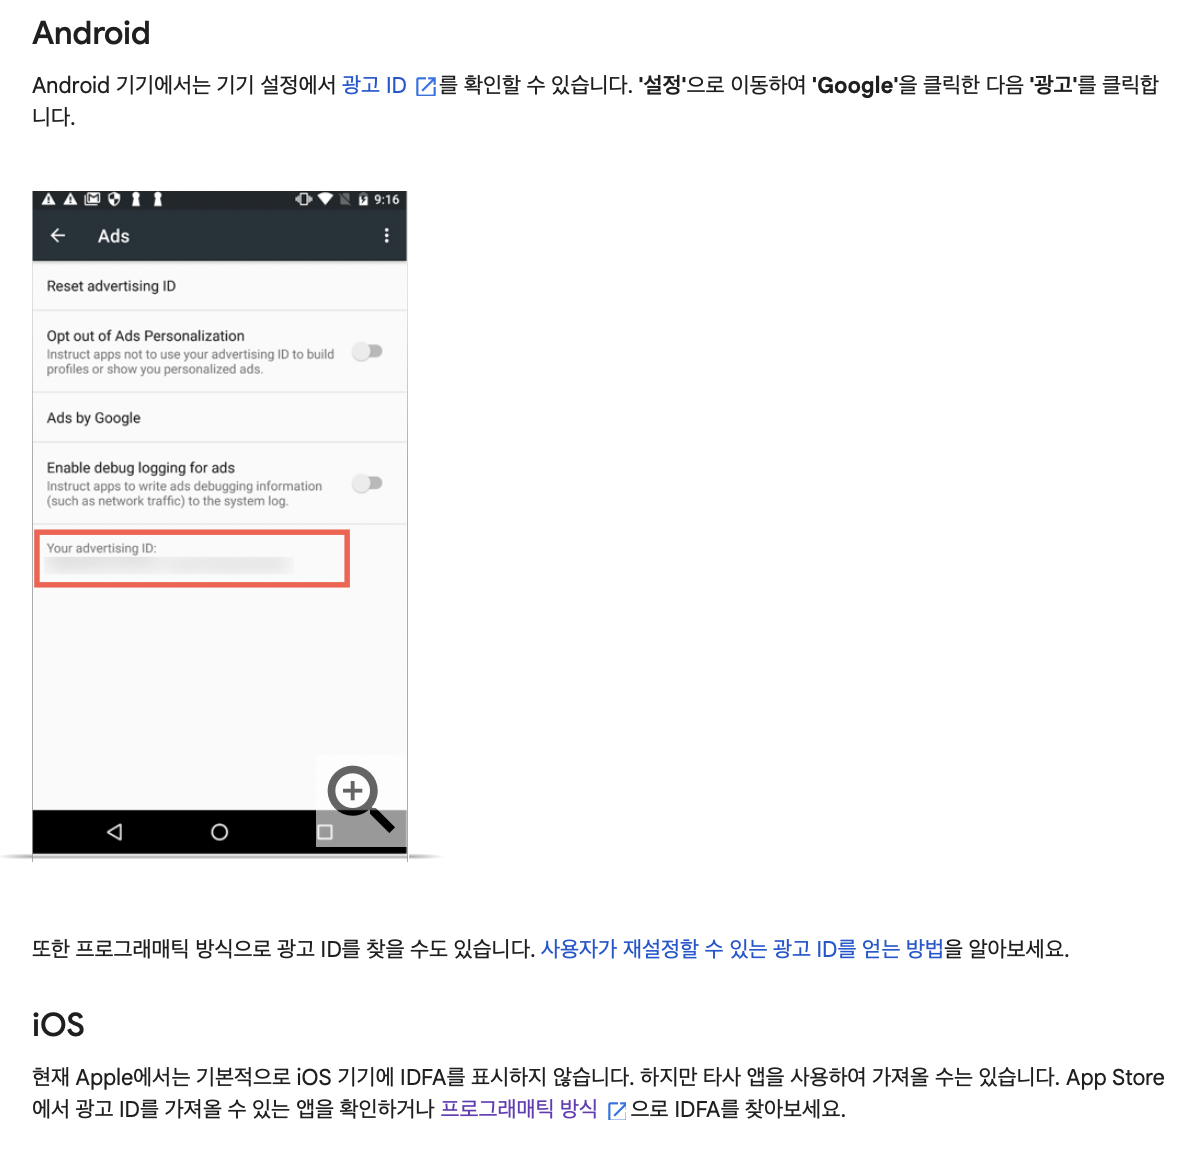
AdMob에 테스트 기기를 등록하려면 IDFA가 필요하다. Android는 설정에서 쉽게 알 수 있지만 iOS는 코드를 작성해서 알아와야 한다.

AppDelegate에 AdSupport와 AppTrackingTransparency를 import 하고 앱 추적 권한 요청 코드를 작성한다. 허용하면 IDFA 값을 print 하여 알아온다.
// AppDelegate.swift
import UIKit
import AdSupport
import AppTrackingTransparency
import GoogleMobileAds

@main
class AppDelegate: UIResponder, UIApplicationDelegate {

    func application(
        _ application: UIApplication,
        didFinishLaunchingWithOptions launchOptions: [UIApplication.LaunchOptionsKey: Any]?
    ) -> Bool {
        // 앱 추적 권한 요청
        DispatchQueue.main.asyncAfter(deadline: .now() + 1) {
            if #available(iOS 14, *) {
                ATTrackingManager.requestTrackingAuthorization { status in
                    switch status {
                    case .authorized:           // 허용됨
                        print("Authorized")
                        print("IDFA = \(ASIdentifierManager.shared().advertisingIdentifier)")
                    case .denied:               // 거부됨
                        print("Denied")
                    case .notDetermined:        // 결정되지 않음
                        print("Not Determined")
                    case .restricted:           // 제한됨
                        print("Restricted")
                    @unknown default:           // 알려지지 않음
                        print("Unknow")
                    }
                }
            }
        }

        // AdMob
        GADMobileAds.sharedInstance().start(completionHandler: nil)
        return true
    }

    // MARK: UISceneSession Lifecycle

    func application(
        _ application: UIApplication,
        configurationForConnecting connectingSceneSession: UISceneSession,
        options: UIScene.ConnectionOptions
    ) -> UISceneConfiguration {
        return UISceneConfiguration(name: "Default Configuration", sessionRole: connectingSceneSession.role)
    }
}
2. AdMob에서 테스트 기기 추가하기
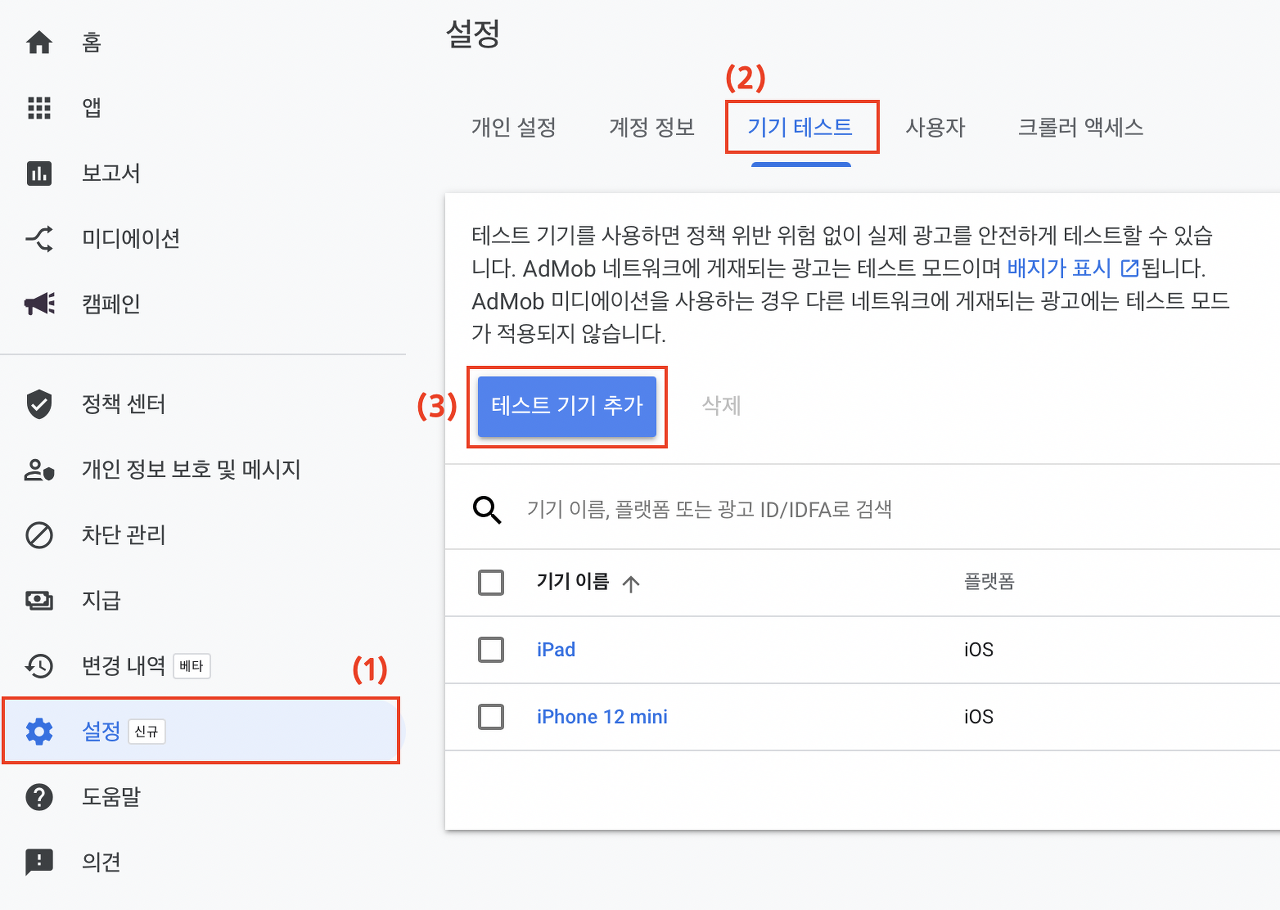
AdMob에 로그인한 후 대시보드에서 설정 ➜ 기기 테스트 ➜ 테스트 기기 추가를 선택한다.

반응형